|
| Restored Specialized Hard Rock |
Hello,
Last week I sold my favorite bike I have ever built and owned, I built it about two years ago. It was a early 90s Specialized Stump Jumper. I turned it into a fixie/Single speed. It had a flip flop hub, 46 tooth chain ring. (very large for mountain bike, but I am a road guy and can't stand lower ratios, and I used it for rolling trails and a lot of woods riding, but nothing real steep. Love rolling hill gravel rolls.) I had high end parts, perfect size, beautiful shellacked cork grips, all alloy stems and bars and rims polished to a high shine. It was beautiful to look at. A regular customer wanted it badly and every time I saw him he would make a higher offer, well the last offer was so high I could not refuse.
Now a week later all I can do is regret the decision. I miss it badly. Over the weekend I found a Specialized Hard Rock in very rough shape for almost nothing. The frame is straight, the size is right, and I can use the front wheel. The mission has begun to reincarnate my favorite into this bike.
I stripped the parts off the bike today and it will be going to powder coating in Hails Corners tomorrow. I will have to get the exact name and post it. The owner is Isrreal. First time I am sending a frame to them. Work he has shown on his website is very nice and the price is very good. If all goes well I will have a new powder coater for some time.
I am going to also be looking for a new rear wheel with flip flop hub or maybe even a double flip flop hub and adding a second chain ring. Don't know yet, that is the fun. I think I may lace the rear wheel myself if I have the time.
This will be a work in progress for a while so check back on the post. Time is the key. I have been super busy with customer bikes. In the last 7 days I finished off Craig's Raleigh Restoration, overhauled two Gary Fisher's for a very good regular customer and his daughter. (One was a 04 Gary Fisher Utopia, very impressed with it.) Overhauled a recumbent, did the GT Outpost Restoration, tuned up a Schwinn for a customers daughter to use at UW-Madison this fall, overhauled a Specialize road bike, and tuned 2 Giant His & Hers townie type bikes. I semi restored/overhauled a Raleigh Sprite to be used as a cottage bike. It has been fun. And tomorrow I plan to finish off the Baby Blue Schwinn Continental Restoration & Upgrade.
I will post what new parts are going on as I add them, Photos below.
 |
| Bike Before |
 |
| Bike Before Front View |
 |
| Before Drive Train |
 |
| Bike Before Front Brake View |
 |
| Frame - Parts Stripped Ready for Powder Coater |
 |
| Frame Ready to Go to Powder Coater |
 |
| Frame Serial #s |
I was traveling for a funeral the last 4 or 5 days so I do not have much work done. I am still waiting on the frame from the powder coater. So in the mean time I ordered some parts, and started work on the wheels. I have not found the rear wheel I want yet, so I am going to overhaul the current one for now, and maybe use it somewhere else. Parts should start arriving today. Also today I am hoping to get the Schwinn Continental done. Below are some photos of the wheels. Thank you.
 |
| Before Front Wheel |
 |
| Before Front Wheel |
 |
| Before Front Wheel |
 |
| Front Wheel Cleaned |
 |
| Before Rear Wheel |
Update July 15, 2012:
Hello,
I have Updated both the Raleigh Fixie and Specialized Hard Rock today. I got the frame back from the Powder Coater today and I am thrilled with the results. The color is exactly the shade I wanted, (You would be surprised how hard it is to get just the right shade of white.) The powder is a good thickness and is evenly applied. This is the first time I used this Powder Coater and I am very happy with the results, Isrrael at www.03Powder4u.com in Hales Corners did the work. He was very nice and I talked to him for a while today. I would recommend him to anyone.
 |
| Frame Powder Coated |
 |
| Frame Powder Coated BB View |
 |
| Frame Powder Coated Rear View |
With the frame home and customer work done for the day I got to work at some assembly. I cleaned and polished the black headset. I was planning on replacing the headset with a nice chrome headset, but I have been so busy with customer work that I forgot to order it, So for now I am using the original black Headset. The Headset polished up very nicely, I then grease and installed the bearings. My crown race ram is just a well fitting 1" piece of galvanized pipe. I slide the pipe over the steer tube and give a few hits with a rubber mallet. I included photos of this.
The installation of the headset went very well and it turns very smoothly, I am also kind of liking the black headset, I will have a decision to make when the chrome headset gets here.
 |
| Crown Race Ram Pipe |
 |
| Crown Race Ram in Place |
 |
| Pressing Headset Cups |
 |
| Headset Installed |
My plane for this bike keeps changing daily as I think about it. I started out with the intention of turning it into a single speed to replace my all time favorite bike that I just sold. Then I thought about just a complete restore of the original bike with a few upgrades in components and keeping it as a 24 speed. Next I thought about a 1x8. Now I am thinking of a 650b cruiser/tour with leather bar grips, Soma oxford bars, Strumey archer levers, chrome fenders, maybe a porter rack and more. Something nice for riding with my kids, riding around town in style. As you will find in the future my bike ideas evolve through the build. I will up date more shortly.
 |
| Bike as of Now - Side View |
 |
| Bike as of Now - Front View |
 |
| Bike as of Now - Rear View |
Update 8-2-12
I left off the post with the wheels rebuilt and headset installed. I started work next on the handlebars. I do not like the stem and bars that where original to this bike. They where painted black, chipped and looked cheap. I looked around to order a new stem and handlebars, I most likely will order new bars when I deiced if this will be more a porter type bike or what form it will take. For now i took the bars and stem off a trek 820 I have sitting in my garage attic in the waiting for a new life pile. I polished the stem and bars on the buffer, they cleaned up beautifully, if i stay with a flat bar these will defiantly be good.
At the same time as I found the stem and bars I found a black cable hanger in my cable hanger box. I will need a cable hanger to put in the headset because original the front brake cable hanger was built into the original stem. The black paint was badly chipped on the cable hanger and I just don't like components painted black, it looks cheap to me. I removed the paint with 180 grit emery cloth and then polished the hanger on the buffer. The aluminum polished very nice, would never know it was black before.
With the handlebars in place I installed the brake levers and leather handlebar grips. The brake levers are new, they look a little more stream line then the hold levers. I really like the leather handlebar grips, they really start to bring the bike together, they look great with all the polished metal and white frame. I am looking for a leather chain stay guard, I might just make one out of leather boot laces.
Next I disassembled the front and rear cantilever arms, cleaned and polished the components on the buffer. They turned out nicely and a the cable mounts and the brake pad mounts have an bronzed oil finish, it looks great with the leather, white and polished metal theme going so far. I had to sand the mounting stems to remove some of the powder coat primer, I then used a 6 mm tap to remove any powder coat that got in side the brake lever stems. You will have to clean just about all the threads on the frame with a tap when you have a frame powder coated.
With the cantilever brakes installed it was time to run new cable housing and cables. So far I only have the front brake complete, I have to get more tubing to run the rear cable along the top tube. I forget the exact name of this, it just the small diameter straw like piece that you run cable through to prevent the cable from rubbing on the frame. The front brake works great, I have always like cantilever brakes over V-brakes or disc brakes, but i grew up with cantilever so I am sure that is why.
 |
| Stem & Handlebars Polished & Installed |
 |
| Leather Grips & Brake Levers Installed |
 |
| Leather Grips Side View |
 |
| Cable Hanger Before |
 |
| Taping Brake Posts |
 |
| Cantilever Brake Arms Before |
 |
| Cantilever Arm Polished & Installed |
 |
| Front Brake Installed - Bad View of Cable Hanger |
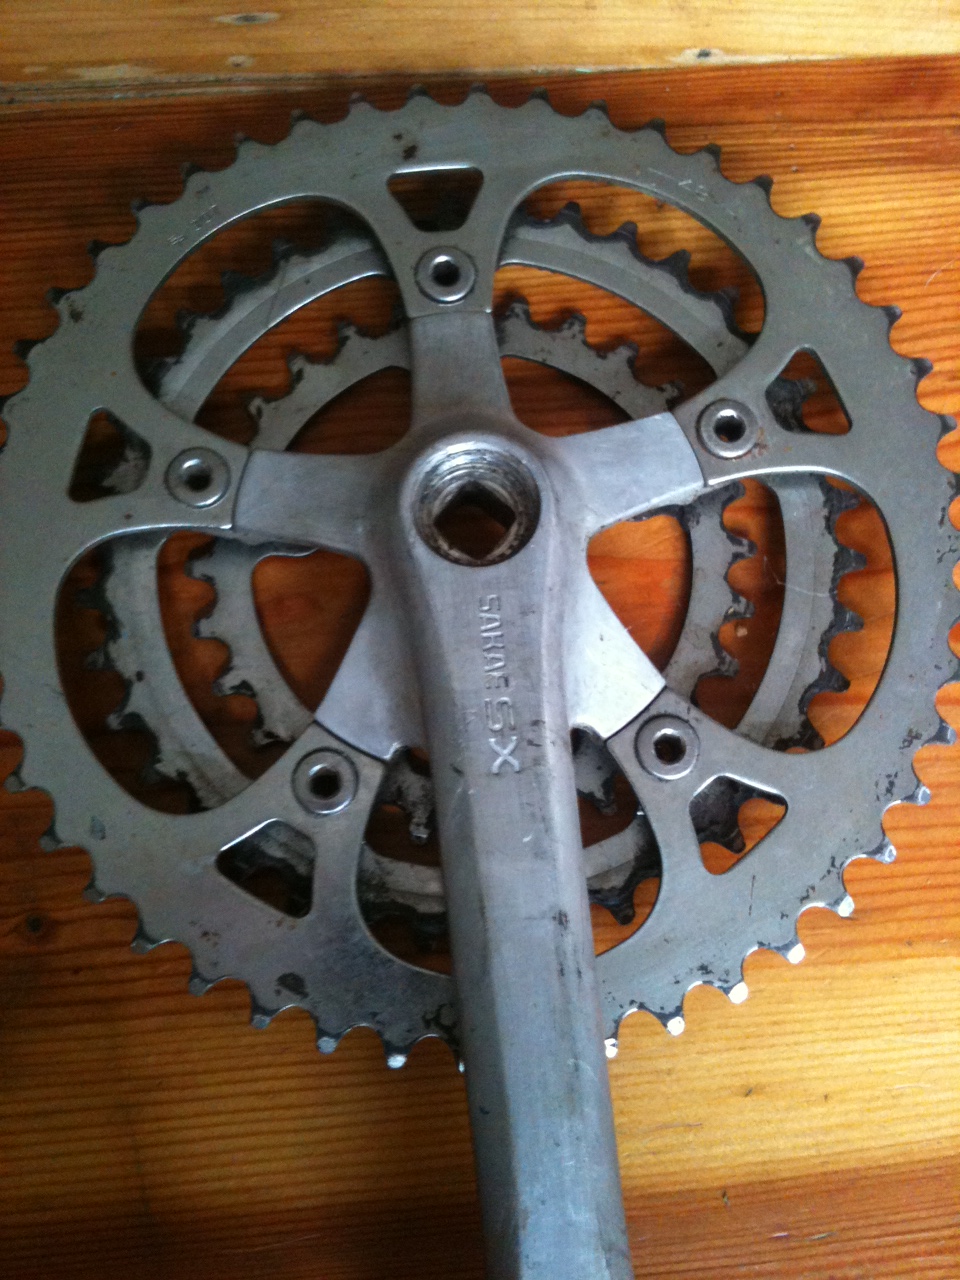
It was time to start work on the drive train. I really hate the Crank Set and derailleurs that came on the bike. Everything is painted black & the crank is a stamped metal welded type, cheap, ugly and awful. My solution to this is to use the crank set and derailleurs from a rough mid to late 80s Bianchi MTB. It is in the attic waiting for new life pile. (Its not really a pile, I have everything very neatly lined up or hanging from hooks). It is a very nice aluminum crank that when polished will look great with all the other polished metal.
I started by disassembling, cleaning and polishing the crank set. This includes all the bolts, spacers and bushing. I then reassembled the crank. I wanted to install the crank right away, but this crank requires a 118 mm bottom bracket, the original bottom bracket is 113 mm and the bottom bracket on the Bianchi was not a sealed bottom bracket. I had to order a new one.
The Bianchi will get new life soon. I think I will build it up for daughter or as a smaller MTB to sell.
While I was waiting for the new bottom bracket I cleaned and polished the front and rear derailleurs, they do not look the best even after polishing, for now I will keep the front derailleur, but have a new rear derailleur on order.
The old cassette is actually a 6 speed cassette and since the rear shift lever is broken I will be upgrading to a new 7 speed cassette and shift lever. I have a Sram 7 speed cassette on hand that says it will work with Shimano components so I installed it. I will also be adding a new chain, so I know it will work with a new cassette.
The new bottom bracket arrived, I found a few minutes while working on a customer bike because I could not wait to see the crank on the bike. The bottom bracket installed quickly, but I use a better grease then what the factory puts on the threads. I then installed the crank set, I am super pleased with the look, so much better then a cheap, black painted, stamped metal, welded crank set.
 |
| Bianchi Donor Bike |
 |
| Crank Set Before |
 |
| Crank Set Before - Rear Side |
 |
| Crank Set Cleaned & Polished |
 |
| New Bottom Bracket |
 |
| New Bottom Bracket Installed |
 |
| Crank Set Installed - Looks Great |
 |
| New & Speed Cassette |
 |
| Cassette and Derailleur Installed |
I am now in the home stretch, I need to clean and polish the seat post and components, order a Brooks saddle, add a new chain, run the new shift cables and housing, install the new shift levers, figure out a leather chain stay protector, and add the bits and pieces or accessories that will bring everything together. Will post as things come along. Photo below of Bike to this point. I need to figure out better lighting for full bike views on the stand, the lights in the background make for crappy pictures.
 |
| Bike to this Point |
Update 10-1-12
Its been a while but the bike is finished. I am not going to go all out with Brooks saddle and a few other leather components. I took the almost complete bike, except for a few cosmetic things, for a very long ride, almost 35 miles, and in that ride my body told me the bike needs to be about an inch larger, at least that is what the pain in my back said.
I think I left the post last time waiting on a new derailleur to arrive. When the derailleur arrived I quickly installed it and a new chain. I also cleaned and installed the original peddles. I now was only waiting for new shift levers. The arrived and I ran all new cable housing and cables. After a little tuning a had a full functional bike. I removed the original seat and added a comfortable new lower end seat. I am now going to sell the bike, I usually put good quality inexpensive saddles and peddles on bike I am going to sell. Peddles and saddles that are defiantly good and will hold up over time, but not expensive. Peddles and seats are such a personal thing there is no point adding the expensive cost to the bikes final price when most people change the saddle and peddles to what fits them.
The bike is very nice riding, it would be a great riding bike for someone a few inches shorter then me, I'm 6'-4".
 |
| New Rear Derailleur |
 |
| New Shift Levers |
Finished Bike
Frame Powder Coated
Replaced Handle Bars
New Leather Handle Bar Grips
New Tire Tubes
New Brake Levers
New Shift Levers
Upgraded Crank set
New 7 Speed Cassette
Upgraded from 18 speed to 21 speed
New Rear Derailleur
New Chain
All New Cables
All New Cable Housings
New Seat
I really like this bike, it rides smooth and would make a great commuter, around town bike or an old school trail bike.
I do have a new deluxe rear rack for it for an extra $45 and very high quality new 1.5 inch road tires for $60.
 |
| Restored Specialized Hardrock - Side View |
 |
| Restored Specialized Hardrock - Front View |
 |
| Restored Specialized Hardrock - Bar View |
Below are photos of test ride with possible rear rack and bag that is not included. Rack can be purchased for an extra $45.
 |
| Test Ride with Possible Rack Setup |
|
| Test Ride with Possible Rack Setup |
 |
| Crappy Photo of Possible New Rack for $45 |
 |
| High Quality 1.5 Inch Tires for $60 Extra |
Thanks for looking, and if you learned anything please help support the blog by doing your Amazon shopping through the search box at the right. Thanks